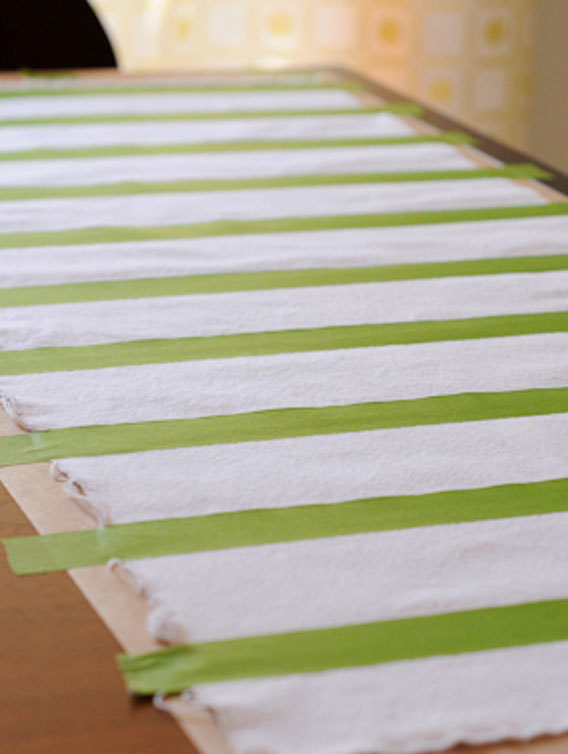
Start out by protecting your painting surface. I rolled out brown paper and placed my fabric on top. Always wash and dry your fabric before painting it. You don’t want any surprises the first time you put it through the wash! To keep the fabric in place I taped the base of my pattern across the fabric and right onto the table. I used Frog Tape’s Multi-Surface green tape.
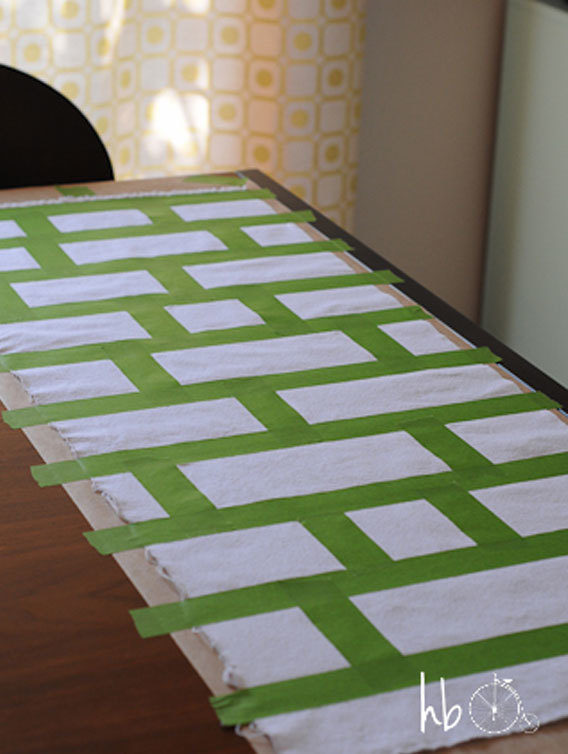
After placing your base pattern, place your secondary pattern. I went for random laddered steps. After both sets of tape were in place, I went back over with my fingers and pressed the tape edges down for maximum adhesion.
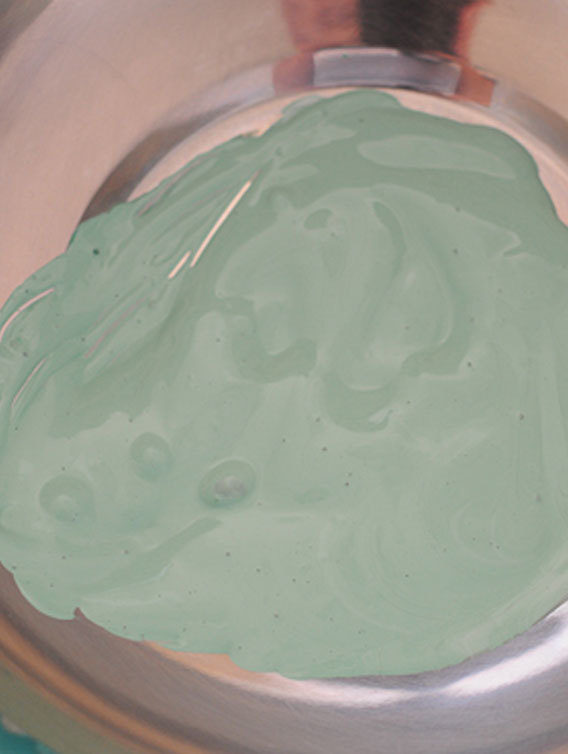
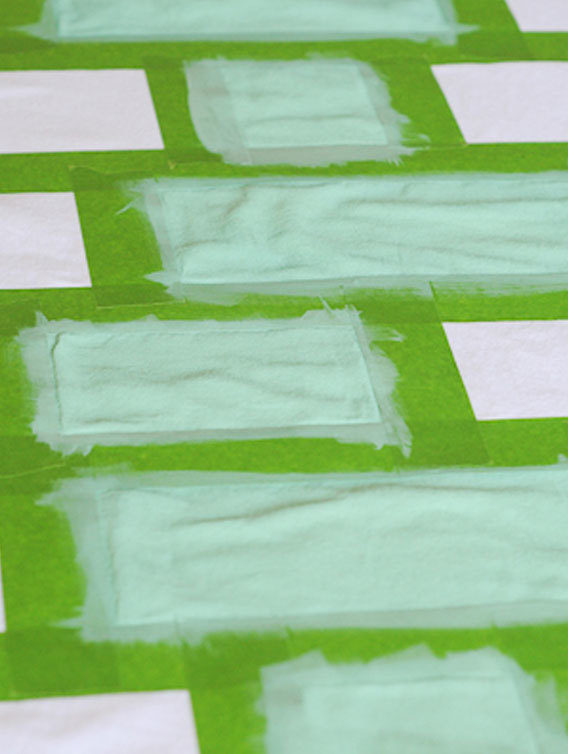
Instead of buying fabric paint, I used Ceramcoat Textile Medium and acrylic craft paint. Mix your chosen craft paint with the fabric medium: 2 parts paint to 1 part medium. I created a custom colour by mixing a medium green with white to lighten it to mint, then added my textile medium.
Using a 1 inch artists brush, apply the paint to the fabric. I laid it on pretty heavy, but only did one coat. Your fabric will stretch a bit as you apply colour, but don’t worry. Once it’s dry and heat set the fabric will return to it’s normal shape.
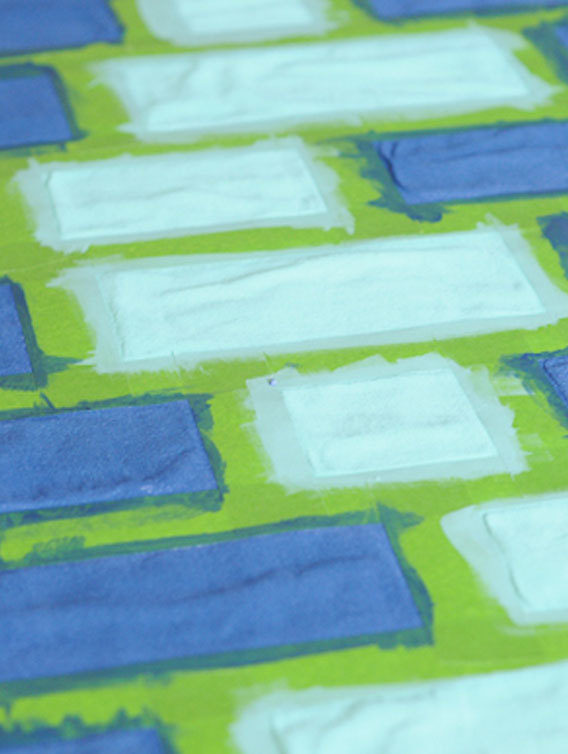
I went for two colours. I mixed a deep blue acrylic paint with textile medium and applied.
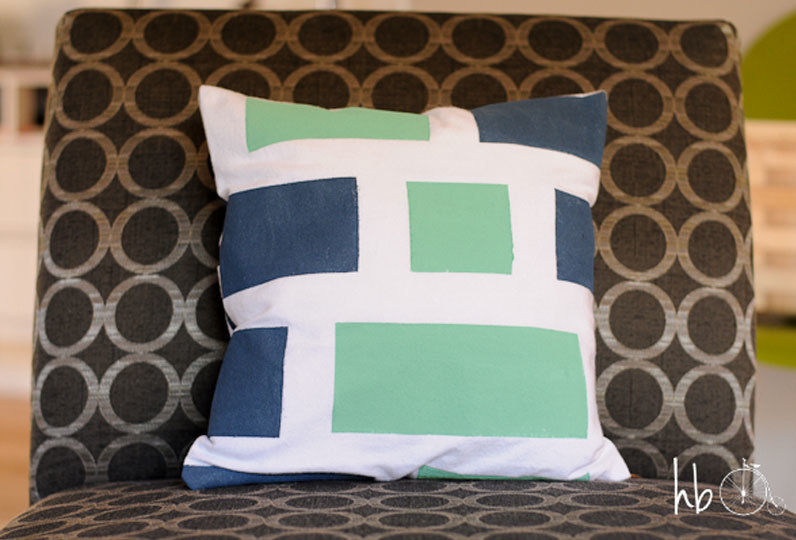
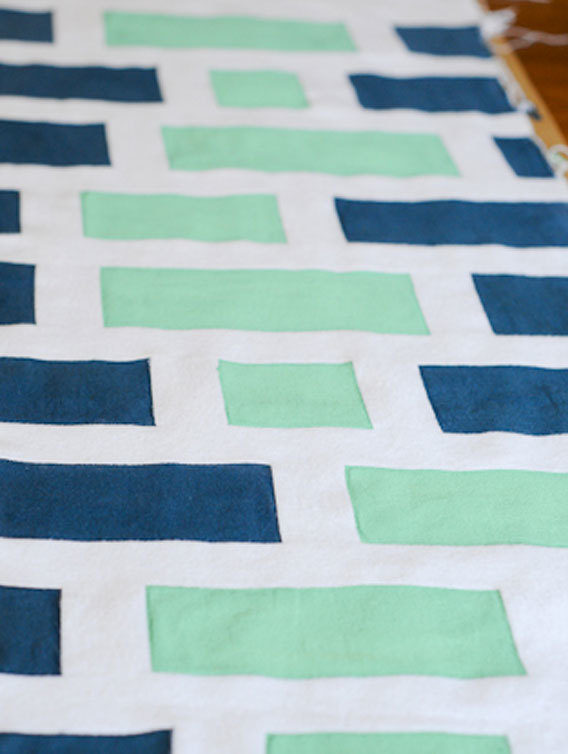
My favorite part of a painters tape project is always removing the tape. It allows me endless amounts of joy. Unlike when painting a wall or solid surface, you don’t have to worry too much about removing the tape while the paint is wet.
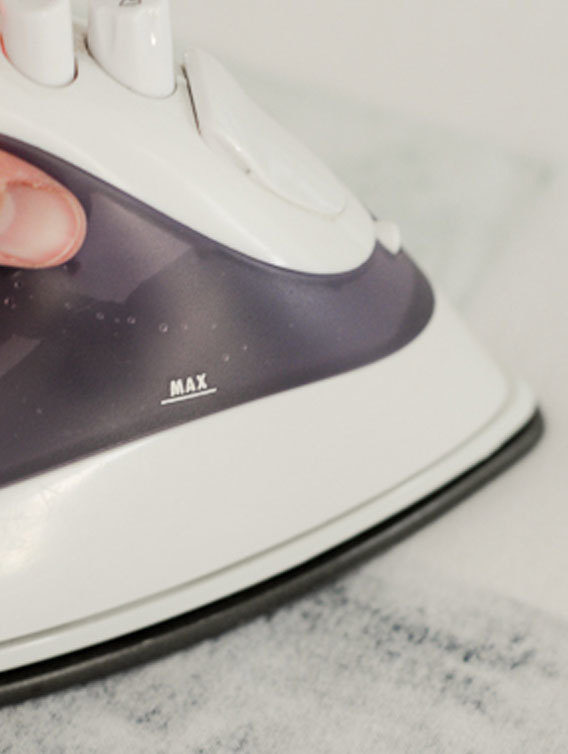
The last step is to heat set your paint. Be sure the paint is thoroughly dry to the touch, and put your iron on a setting appropriate for the type of fabric you used. Lay the fabric upside down on a towel and iron (no steam) for twenty seconds on each painted section.
 UK
UK FR
FR US
US CA
CA NL
NL DE
DE ES
ES