UK
UK FR
FR US
US CA
CA NL
NL DE
DE ES
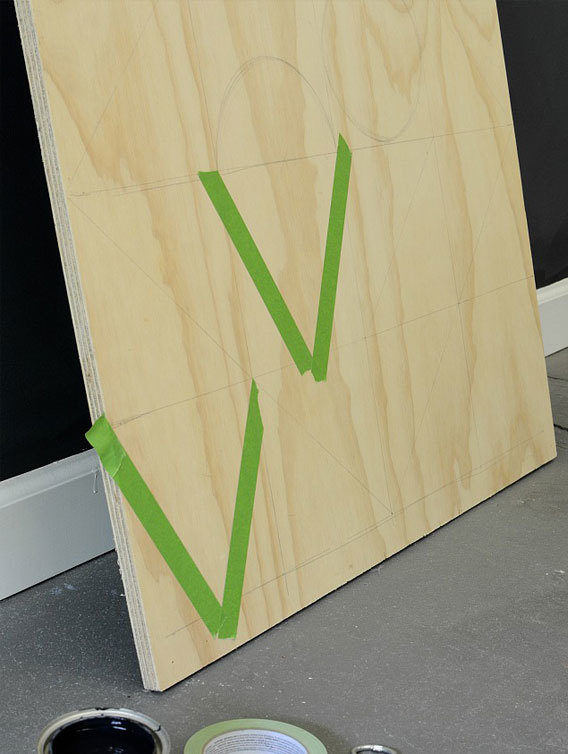
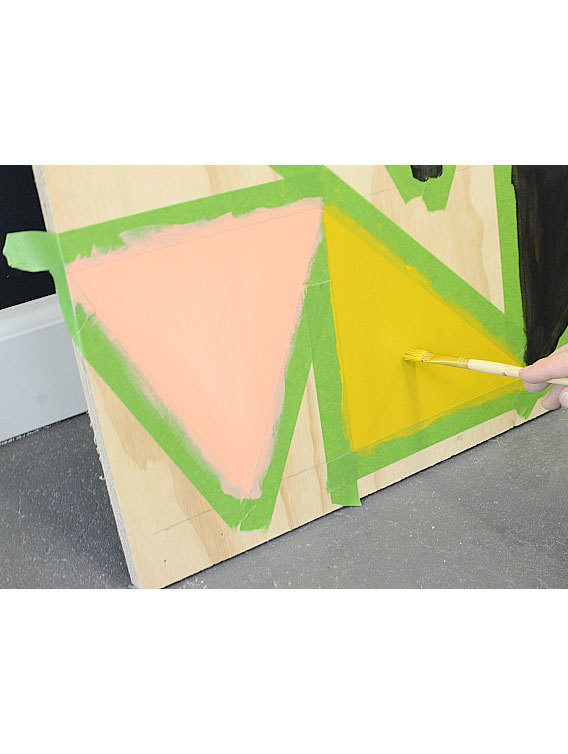
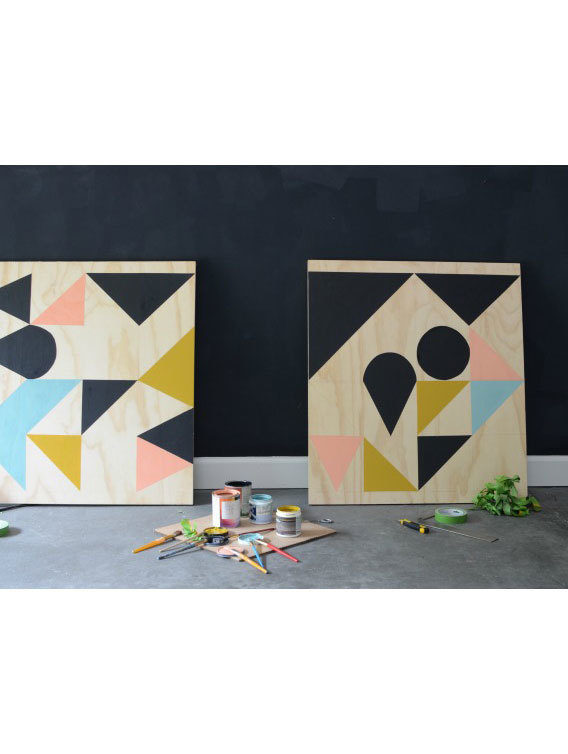
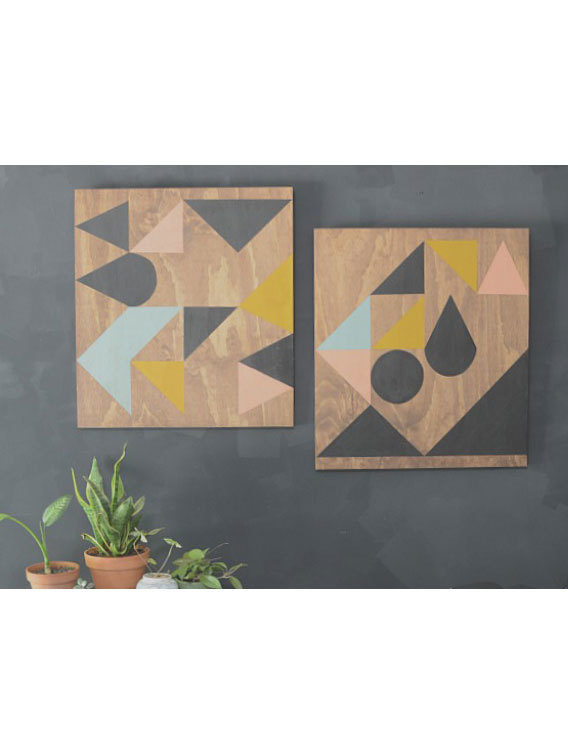
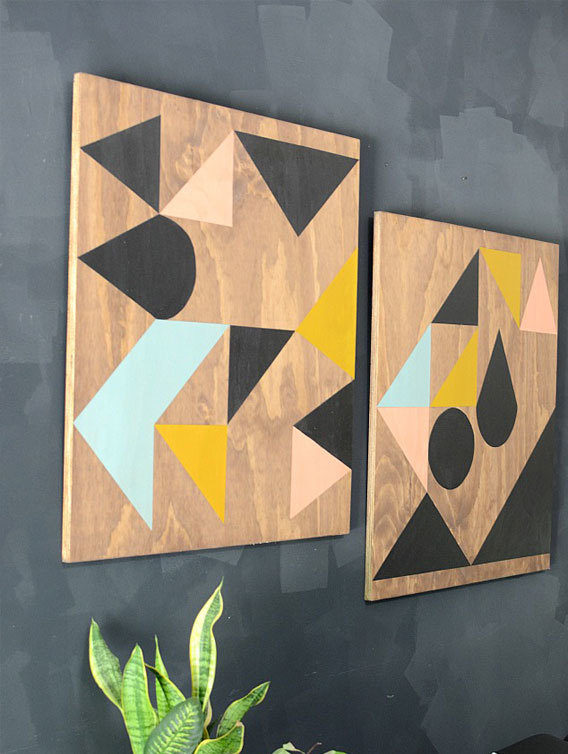
ESUse FrogTape® Multi-Surface and a pretty paint palette to turn wooden panels into works of art!
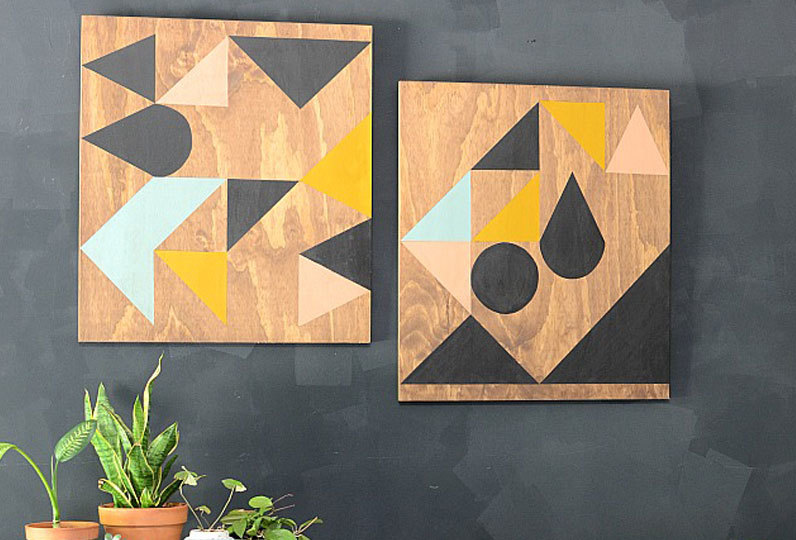
WOODEN ART PANELS
MATERIALS Needed
- FrogTape® Multi-Surface Painters Tape
- Fine Sanding Sponge
- Oak Panel – Cut to Desired Size
- Craft Knife
- Paint
- Paint Brushes
- Wood Stain
- Cloths